|
|
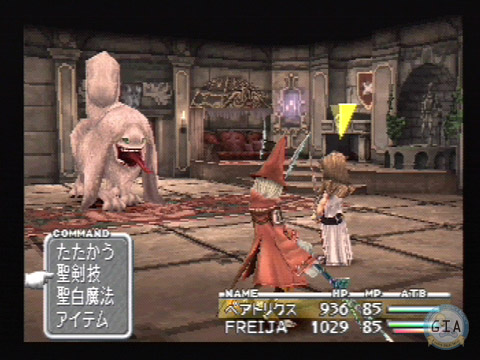
ITEMS TO GET: None When you enter the Queen's room, Thorn, Zorn, and Beatrix show up, and it's time for yet another battle against Beatrix. This battle is essentially the same as the one at Cleyra, though with Steiner's powerful attacks, you'll have an easier time. (You can also steal a Survival Vest -- currently unavailable for purchase -- from her, though it's hardly essential.) The battle ends the way you'd expect: Beatrix blasts everyone down to 1 HP. This time, however, Freija convinces Beatrix to heal Garnet with the energy from the Cleyra harp.
While Zidane, Garnet, and the others make their escape, Freija and Beatrix team up to fight the Bandersnatch summoned by Brahne. It's not much of a contest: both characters are all healed, and all you have to do is use Beatrix's Shock (the last ability listed under her first special command) to take it out in a single hit. You then take control of Zidane's party. Quickly ride the spinning platform over to the right side of the room; if you dilly-dally, another Bandersnatch will jump in and attack you. Run down the stairs; on the second screen, three Black Mage Type Cs spring out of one of the "fake doors" and attack you. Since Steiner is so strong, have him attack a different Black Mage from the other characters, or the damage will just be "wasted." After you defeat the Black Mages, continue down the stairs. You'll fight a team of two Bandersnatches, and then -- on the third screen -- Steiner runs off to aid Freija and Beatrix. Freija and Bea are again magically healed. They have to fight two Bandersnatches; you can easily wipe them out with Beatrix's Climhazzard (her third sword skill). Steiner joins up, and you fight another two Bandersnatches. Again, just use Climhazzard to wipe them out. It's back to Zidane's team again. If you go back into the room where you found Garnet, the Save Moogle will still be there; you may want to use another Tent (apparently their escape plans aren't urgent enough to interfere with a brief nap). Choose the second option under MOGNET to receive a new quest. Leave the altar room and go southeast; you'll end up in the room where Steiner was captured. Try to walk through and -- lo and behold -- the wall springs up again. Turn around and try to leave, and a second wall comes up. Thorn and Zorn arrive to taunt you, but Marcus and a de-petrified Frank show up and knock them out. Zidane's party automatically scrambles on board the Gargant chariot and makes its escape -- at least until another monster shows up. You may be able to steal an Oak Staff or Adamant Vest from the larva, but you'll more likely end up with a piddling Phoenix Down. Have Zidane attack, while VIVI casts Blizzaga and Garnet heals. The boss uses a lightning attack (about 200 damage to the party) and casts Minimum to shrink your characters. At this point, the only way you can cure this status is with Remedies (the yellow bottles), though you can probably fight on if only one character is Minimized. After you do about 2500 HP to the larva, it will coil up. Heal up your party, then hit the enemy with a physical attack. It will uncoil and use an earthquake attack on you, dealing about 250 HP to the party. Finish it off (it only has about 500 HP left) and you're treated to a brief FMV sequence. [next chapter] » Pinnacle Rocks |
|
||||||||||||||||||||||||||||