|
|
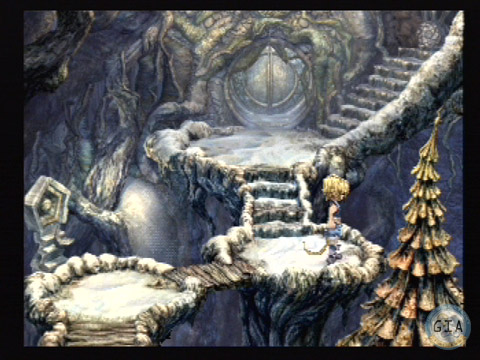
ITEMS TO GET: 900 gil, Potion, Hi-Potion, Ether, Elixir, Phoenix Down, Remedy, Gisahl Greens, Tent, Fire Cane, Ice Cane, Needle Fork, Mithril Gauntlet, Mithril Vest, Desert ? Boots After a brief conversation in Burmecia, Zidane's party ends up back on the world map. Your next destination is the giant tree Cleyra; you'll find it in the desert to the west, protected by a huge sandstorm. A FMV sequence introduces the area when you arrive. Proceed forward (you'll notice the sand winds die down as you move inside) to the next screen. Music begins playing.
Climb up all the stairs until you reach the top of the screens. Examine the switch on top of the ramp on the right; choose the first option to open the main door. Enter. Inside the tree, grab the Phoenix Down from the right side of the screen and then head up the stairs. In the background of the next screen, you'll find an Ice Cane, and in the foreground, a new pair of boots. These boots bestow the MP 10% Up ability on Quina and Freija; give it to one of those characters.
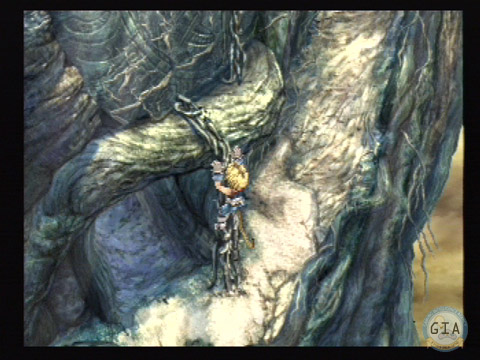
Head east and you'll be outside again. Continue up the path on the right side of the screen and you'll wind up at another door leading inside. Go in, collect the Ether from the chest, and then examine the hole in the lower-right corner. Select the second option to trigger a sand flow. Go back outside and climb down; you'll see that the sand is now blocking the path you originally came out. Shimmy up the nearby vines to reach the large circular opening and proceed inside. You'll encounter the monstrous Sand Golems in here. Each golem has two attackable parts; the regular "Sand Golem" (the first choice) and its Core (the second). To actually kill the Sand Golem, you have to destroy the Core; it's weak against ice, so use VIVI's Blizzaga to take it out in a single hit. Attacking the Sand Golem will soon cause it to collapse and render it immobile; however, it quickly recovers, so just stick with hitting the Core. The sand flow has filled this room, allowing you to reach a new entrance on the left side of the room that leads to a vertical area. Collect the Needle Fork from the lower-left first (and, if by some chance he doesn't already have one, equip it on Quina), then climb up the ramp on the right. Grab the Tent from the chest, then quickly run to the left to to reach the much-needed Save Moogle. (If you dilly-dally on the sand waterfall too long, you'll fall down to the lower level.) Use a Tent or two to restore your party, then run back to the right and exit upwards. Back outside, the Sand Golems will be largely replaced by the substantially-easier Carrion Worms. Take the left fork, then the right, to reach a chest with a Fire Cane. Climb back down to the first fork and go right. Proceed across the wooden bridge on the next screen and you'll be inside again. A labyrinth of paths awaits you; head to the far right first, grabbing the Remedy along the way. Follow the tunnel into the background and you'll end up in the middle of the area. Grab the Desert Boots from the chest partially hidden behind a root, then walk left into the wall. Move around until you find the exclamation mark; it's a chest containing a Mithril Vest. The Vest offers the Auto-Potion ability, which causes a character to consume a Potion whenever he or she is hit. This power can be extremely handy against bosses, but be sure to turn it off when fighting normal enemies, or you'll burn through your Potion supply far too quickly. Exit into the background of the middle path. Grab the Mithril Gauntlet from the chest, then continue on to the next screen. Examine the pulley and choose the first option to divert the sand flow. Return to the three-fork room and take the left path. If you closed the gate earlier, you'll be able to walk up the path on the right and claim an Elixir from the chest on the screen. Grab the Potion at the base of the ramp, then continue north. If you stumble into one of the sand whirlpools here (and it's hard not to), just pound the Circle button to jump out. Collect the Hi-Potion and 900 gil from the two chests in the background. (To get the first chest, you'll need to creep along the side of the whirlpool; it may help to use the D-pad instead of the analog stick here.) Proceed west; you'll have to jump in the whirlpool and then hop out to reach the exit. The exit is just around the corner now -- literally. Loop around the covered passageway and you'll reach a ladder. Along the way, you may encounter a large black bird enemy (Zuu); these folks have a nasty habit of swallowing up your party members. Don't worry, you'll get them back after battle, though they won't earn experience for the fight. You can have Quina Eat them to learn the White Wind enemy skill. When you reach the ladder, grab the Gisahl Greens from the chest in the background. Then stand in front of the stump and hit Circle. Climb up the ladder and continue on until you reach the Cleyra Settlement. [next chapter] » The Antlion |
|
||||||||||||||||||||||||||||||