
 |
|
Hoffman Island GuideStar Ocean: The Second Story starts off easy enough, but the challenge quickly ramps up as you progress through the game. By the time you arrive in the Hoffman Island ruins, you may quickly find yourself in over your head. Don't worry; the GIA is here to help -- with this guide to the terrain and denizens of Hoffman Island. Getting InYou'll only visit Hoffman Island at a certain point in the story; both Rena and Claude will need to make this journey. Before leaving on your ship, be sure to make sure your characters are properly outfitted with the best weapons and armor you've got. Plenty of Cure Paralysis items, as well as some HP and MP restoratives, are a boon as well. Rena's Dispel spell is a must-have; it'll save you from the paralysis-happy monsters you face on the island. When you're ready to leave, return to Hilton and tell the yellow-suited soldier outside the ship that you're ready to leave. After a brief boat trip, you'll arrive on the island in the northeast corner of the Expel map. Whenever you need to sail back to Hilton, just return to the beach where you landed and talk to the soldier again.
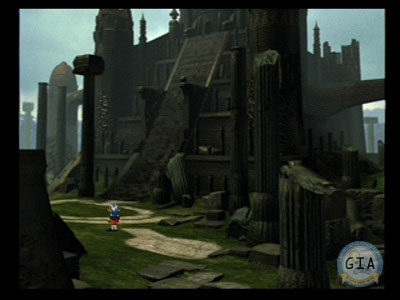
Once you arrive at the ruins, head up the ramp in the middle of the scene (if you continue around the side of the temple, you'll see a close-up shot with a broken pillar, but it doesn't seem there's anything here). As you continue up the ramp, you'll see the door of the temple; head on in.
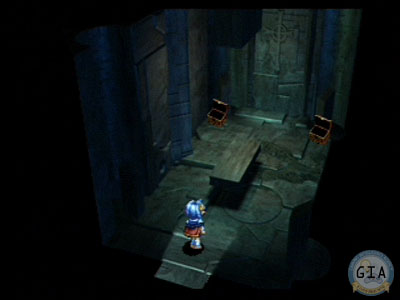
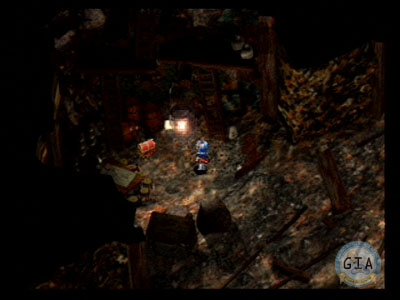
The first few rooms of the temple don't have any enemies in them. After Leon and your hero open the first door, proceed through into the main hall. Enter the three doors along the northwest and northeast walls, and collect the chests within (one of them holds a weapon upgrade for Opera). Then take the passageway in the southeast corner of the main hall. Use the save point, then hop in the elevator. The elevator takes you down to the mines underneath the real dungeon. This is the real dungeon, and the place where you'll be seeing all the fighting. Enemies
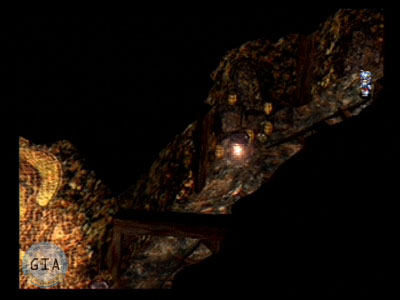
NavigationThe Hoffman mines are fairly non-linear; your goal is to simply get from the elevator to the chamber where the boss lurks, defeat it, and leave. Getting there can be tricky, though, since the mines are fairly mazelike -- unless, of course, you use the handy map we've provided for you.
There's plenty of chests strewn about the mines, but not all of them are really worth collecting. The only essential ones are the paralysis-preventing Paralysis Check (collect this right away and give it to Rena), the Sturm Ring, and the Dictionary (a better weapon for Leon).
You'll also encounter various levers embedded in the wall (denoted by red dots on the map) at various spots around the mines. Pulling these will trigger an explosion that demolishes some of the terrain, and also damages the party. There doesn't seem to be anything to be gained from doing this, so just leave the dynamite alone. The BossWhen you see a Save Point, you know you're just outside the boss's chamber. Be careful about saving, however -- if you overwrite your main save, you might end up stuck in the ruins without enough supplies to get out. Saving in a separate slot is much safer.
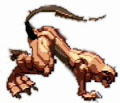
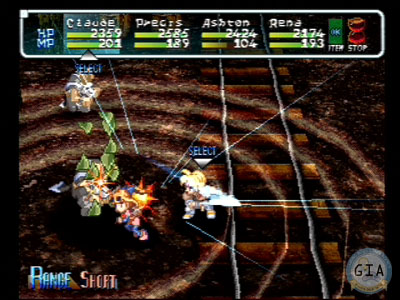
Before continuing, heal your characters (and restore their MP, if needed). Equip Rena with a Reverse Doll to protect her from the bosses' thunder spells -- you'll need her to stay alive so she can heal the others. If you've got more than one Reverse Doll, it wouldn't hurt to outfit the rest of your party with them too. Place Rena, Claude, and two other fighters (i.e., anybody besides Celine or Leon) in your party. Inside the boss's chamber, you'll find the mineral you need -- but before Leon can grab it, a boss randomly appears. It's actually two bosses -- a pair of Harfainxes. They both possess identical traits, including the ability to cast a Thunderstorm spell that does about 700 damage to all four of your characters.
The best defense here is a good defense -- as long as you keep hitting the Harfainxes, they can't charge up their spell. In other words, just rush the monsters, and let Rena (under her first AI setting) take care of healing. You don't need to conserve MP, so go ahead and set your allies to "Attack with all MP." Long-range attacks, such as Precis's Parabola Beam, are helpful. Once you've beaten the boss, you'll finally get the mineral, and you'll also receive free healing. Save the game at your save point, then hurry back out of the ruins. Talk to the soldier waiting on the beach and you'll set sail back for Lacour, ready for the next chapter of the game. And so the adventure continues... Feature by Fritz Fraundorf, GIA |
|
|||||||||||||||||||||||||||||||||||||||||||||||||||


