|
|
ITEMS TO GET: None The enemies inside the Crystal World are crystallized versions of the four Fiends; while they're not quite as strong as their flesh-and-blood counterparts, they're still powerful. They give no experience, but do yield 7 AP per encounter. The Crystal World is completely linear; just follow the path until you reach the save point. A new fourth option appears here; choosing it will return you to the entrance, from which you can teleport back to the Invincible. Obviously, don't do this unless you want to leave.
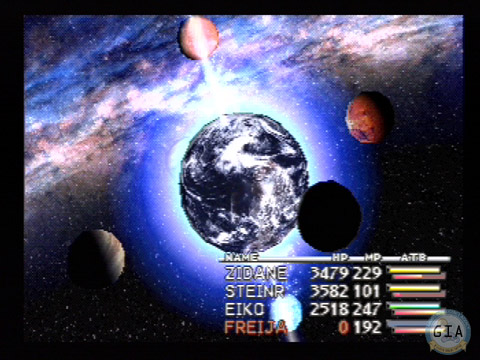
Proceed into the glowing light beside the save point. Walk up the stairs; Kujya is waiting for you. It first summons Death Gaze (aka Doom Gaze). Death Gaze begins the battle by casting Meteor on your party and doing about 3500 damage to everyone. Freija's Jump is a good way to escape this attack; you can also use the Phoenix Charm ability to Reraise yourself. If you can survive Death Gaze's initial attack, the battle becomes much easier. Just watch out for its Level 5 Death attack; you'll want to have characters with level multiples of 5 sit this battle out. You won't receive any experience or AP for defeating Death Gaze, though you do get some gil. You can use the pad at the bottom of the temple to warp back to the save point in the Crystal World; heal up and save again before returning. Also, be sure to turn off any useless abilities (for example, Level Up, Moogle Charm, and Counter -- the last bosses don't use any physical attacks) and use the points to equip Eternal Haste, Eternal Regen, and lots of status protection abiilties (particularly Stone, Stop, and Silence). This time, you'll have to battle Trance Kujya itself. This fight is a piece of cake; Kujya's strongest attack can only do 1800 damage to the party. (Kujya does use Reflect, however.) When you do 60,000 damage to Kujya, it retaliates with Ultima and the battle ends. The party is taken to the Hill of Hope. Garland speaks to the party again, and then you have to select your final party. Zidane, Steiner, Eiko, and Freija are probably the best choices. All of them will have 1 HP; but the four not-selected characters will then heal those chosen. The status menu pops up again, in case you want to make some last-minute adjustments. As soon as you close it, the last boss -- the Eternal Darkness -- materializes.
The Eternal Darkness only has 50,000 HP, but it constantly uses Shell and Protect on itself. Freija's 7th ability can pass right through these defenses; have her cast it constantly. The Darkness' other abilities include a group attack spell that does about 2000 damage, the "Crotch Grab of Doom" (reduces any character to 1 HP), and the classic Grand Cross spell, which blasts your party with random status ailments. Eiko should use Curaga and Araise to heal after these attacks, and Dispel the Eternal Darkness' defenses if she gets a chance. Zidane can also use items to heal (he's good for curing the status changes inflicted by Grand Cross); only have him attack if he has nothing else to do. (Note that if any character gets hit with Zombie and then killed, you'll need to use a Revivify before you can resurrect them.) Steiner, of course, should just use Shock over and over. There's no "true form" to the Eternal Darkness; once you defeat it, it will collapse in an extended special effects sequence. The ending then begins. Hurrah. |
|
||||||||||||||||||||||||||||||