|
|
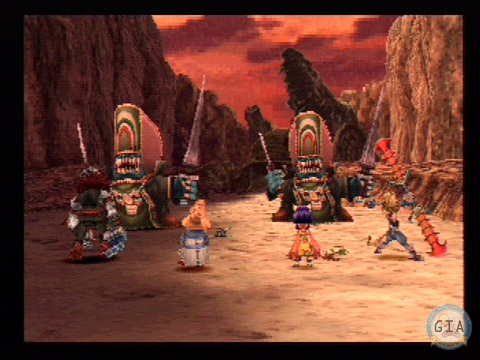
ITEMS TO GET: Hi-Potion, Elixir (x2), Remedy, Rising Sun, Diamond Sword, Shield Armor, ? [armor], ? [armor], Phaser Boots, Ephemeral Stone Shard, Emerald, Gulg Stone Once inside Oeilvert, you can't use magic or any other special abilities; you'll have to use items to heal. The principal enemy (once you get inside the actual building) is the Epitaph, which creates a clone one of the 8 different heroes. If the cloned character is in your current party, the clone will hit him or her with an unavoidable instant death attack -- don't bother reviving the character until after the battle, or the clone will just use the spell again. (If the clone is of an inactive character, the clone just attacks.) Always kill the Epitaph first, then the clone, or the Epitaph will just create a second clone.
At the entrance, you'll find a Save Moogle who also sells items. Upgrade your equipment, concentrating on the characters in your active party -- you'll be able to buy gear for the other characters before you use them again. Once you've taken care of your business there, head up the stairs and proceed through the huge gate into Oeilvert. Collect the Remedy from the chest in the background, then ascend the stairs in the upper-left of the screen. Pick up the Rising Sun from the chest to your right, then go left one screen. Grab the Elixir from the chest and examine the blue lightbulb. It turns purple. Go back down the stairs and head left on the ground floor. In the next room, approach the chasm in the center. A large image will appear if you turned the lightbulb purple. Open the two chests in the room for a Diamond Sword and Shield Armor, then descend the steps int eh lower left. The next room holds two more chests, yielding Phaser Boots (which have the Eternal Levitate abilitity) and some sort of armor. There's also four mechanical devices; turn them on in the following order: upper-left, upper-right, lower-right, lower-left. (You won't be able to turn them on unless you triggered the lightbulb earlier.) Then go northwest one screen and cross the bridge. A small platform lies at the center of the bridge; examine it and another image will appear. Continue up and to the left and you'll end up back in the room where you got the Diamond Sword.
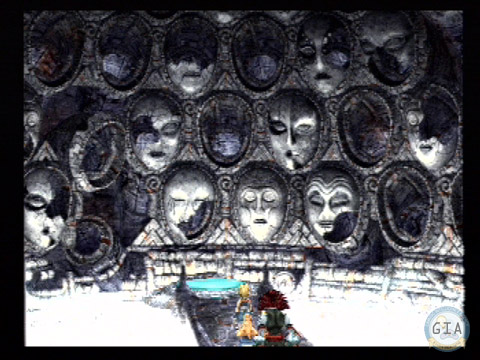
Go in the previously-sealed door just to your left. This room is filled with talking faces; there's a fairly lengthy scene here. Afterwards, leave the room and head back right to the entrance. If you need to stock up on items, now is the best time to go outside and talk to the Save Moogle. Otherwise, continue to the room on the right. There's another Save Moogle here, though he doesn't offer any items. Stiltkin is also here; this time he's selling a Hi-Potion, an Emerald, and an Elixir for 888 gil. Be sure to also check MOGNET to complete your current quest. As you proceed to the right in the room, the circle in the center will light up and an image of two planets fusing appears. Collect the armor from the top of the room, then go through the door in the upper-right. Walk forward and activate the exclamation mark. The platform will take you down to a small room. Heal up and examine the Gulg Stone at the back of the room. A monster -- the Ark -- will appear and attack you. The Ark has a substantial amount of HP and some fairly strong attacks -- which are all the more aggravating since you can't use magic. Fortunately, Zidane's Trance Mode attacks still work; if you can get him into Trance Mode, you'll be able to take down the Ark quickly. Otherwise, just use Elixirs to heal and keep plugging away. When the Ark goes down, you'll receive 11 AP and the Ephemeral Stone Shard, which contains the Boost skill. [next chapter] » Lighting Up |
|
||||||||||||||||||||||||||||||